I know what speed you're driving past my house...*
*...maybe. I don't know really how accurate it is yet.
This weekend started with an offer of beer. I like beer. I'm also partial to diving down a rabbit hole.
@promofaux will you build one of these for me? I’ll pay for the bits and buy you beer. https://t.co/k5noJbIMGO
— Claus with a C (@clausym) March 13, 2021
On first glance, it looked like a fairly straight forward project - and I seem to have a lot of spare time on my hands these days - so I set to digging out various bits of hardware I knew I had stashed away in a drawer somewhere and got to work.
Getting it installed (or, "How I learned to read more")
- Clone this repo from Github, e.g to
/home/pi/speed-camera - Dive straight into it and attempt to run the main script via
python3 /home/pi/speedcamera.py - Get an error message about unmet dependencies, attempt to resolve them. In this case it was
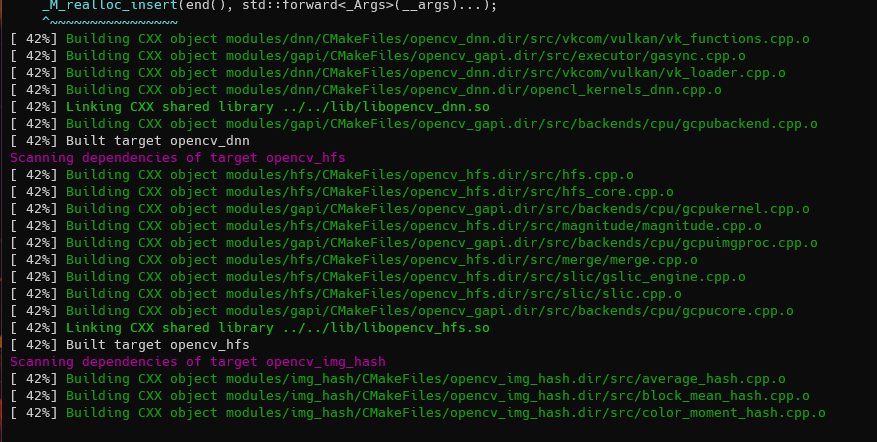
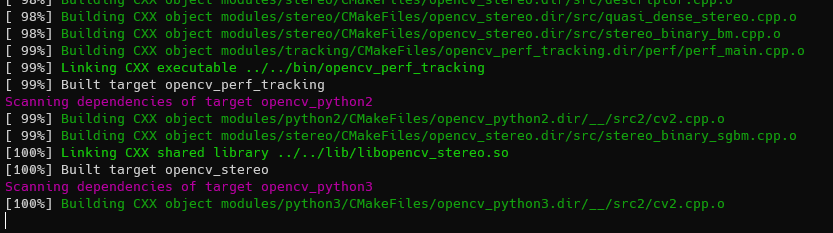
numpyandopenCV - Compile openCV. Fortunately the same guy has a script to make this easy (which was linked to in the output message when running the script)
- Go off and do something else for 6 hrs while it compiles
- Get bored, and read the wiki page on installing it
- ...
- .........
- .................
- Notice for the first time that there exists a file called
speed-install.sh - OH FOR FUCKS SAKE
Turns out I probably should have read the wiki before diving in... ah well. Should I ever need to compile openCV for an RPi in future, I know how. Every cloud.
Just to make sure everything was clean, I reflashed the SD card on the RPi, and this time followed the installation instructions.
Actually getting it installed
So, open a terminal, paste in the following, and hit enter.
curl -L https://raw.github.com/pageauc/rpi-speed-camera/master/speed-install.sh | bashVoila! Everything that you need should now exist in /home/pi/speed-camera
Using it
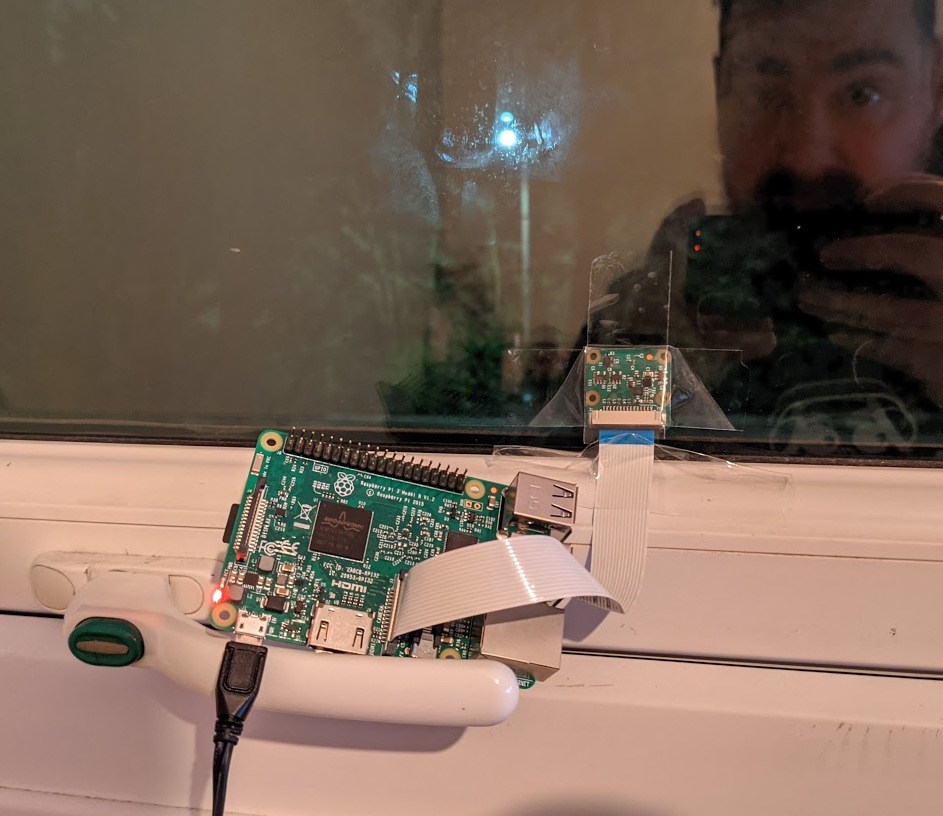
It was dark by the time I had installed everything and got the software running, so I had to wait until the following day to attempt to calibrate it. But I put it up in the window anyway.
The next day I started playing with it. To get started, you CD into the the directory and ./menubox.sh, which provides you with the following whiptail dialog to do various things
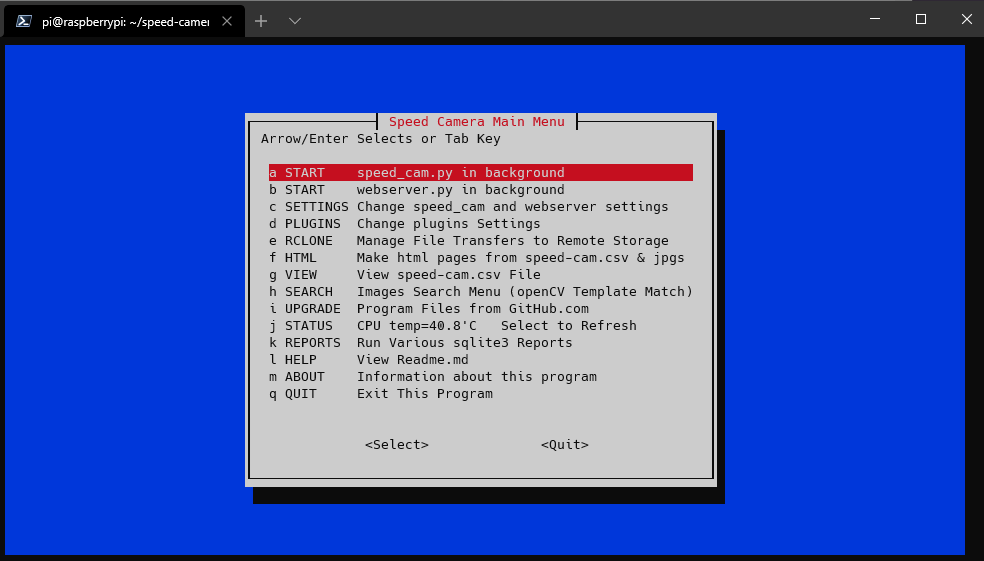
To start with you'll want to hit start on both speed_cam.py and webserver.py, then read the calibration section of the wiki. I didn't get it right away, but it's pretty trivial to do. When in calibration mode (on by default) pictures are taken and overlaid with a grid. The software attempts to automatically decide where that box goes, but the bounds can be adjusted manually in the settings (link in menubox.sh)
Each notch in the "ruler" type overlay below is 10 pixels wide. You simply measure how many notches something is on the screen, and then tell the application what that is in millimetres (You can do different measurements for both left-to-right, and right-to-left traffic).
I've lost the original calibration images I had, but for example in the below image - the black car is 6 notches long. Multiply that by 10 to get 60 pixels. Lets say, for arguments sake, that model of car was 3.5 metres long, that would be 3500 millimetres... so you config file would have:
cal_obj_px_L2R = 60      # L2R Moving Objects, Length of a calibration object in pixels
cal_obj_mm_L2R = 4700.0 # L2R Moving Objects, Length of the calibration object in millimetresconfig.py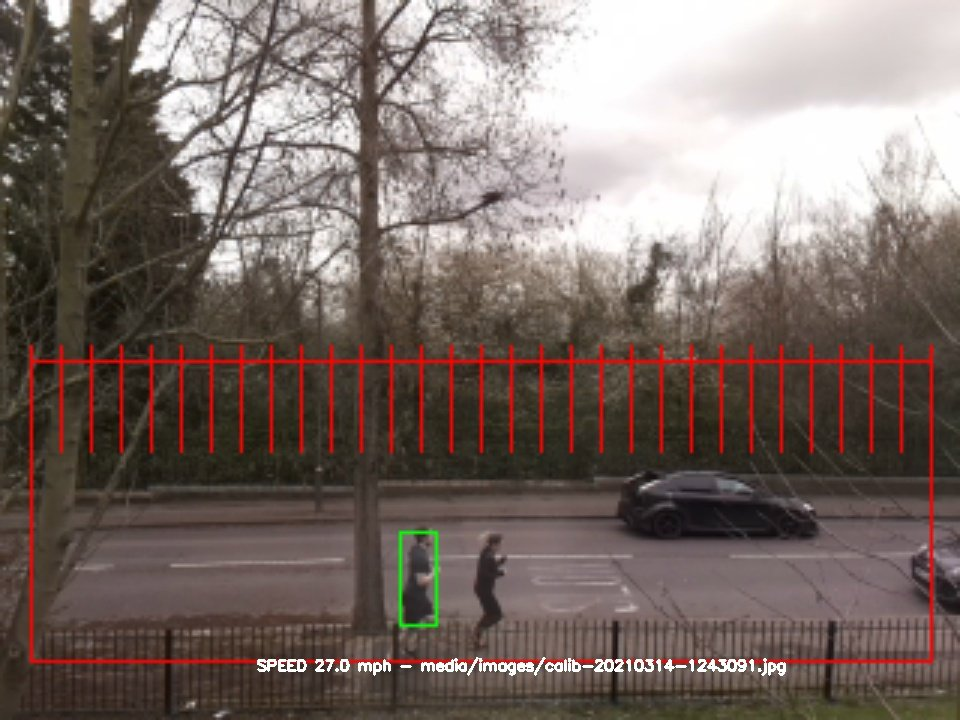
Once you're done with calibrating, simply change the value of the calibrate variable in config.py to True and you're ready to start monitoring traffic.
I've vastly oversimplified here, you may find you need to play about with various plugins for different resolutions, although I struggled getting anything anywhere near accurate with resolutions above 640x480. With time I probably could work it out, but I currently don't have the patience! YMMV, but I settled on using the picam480 plugin (probably should have mentioned up top I'm using a Pi Camera v2)
I've not yet tested how accurate the results are, but I've looked at the averages and gone with the feeling that they're "about right" just by eye. It's probably wildly inaccurate and no good for enforcement!
At this point though, I'm ready to leave it on for the day and come back to it later...
Results
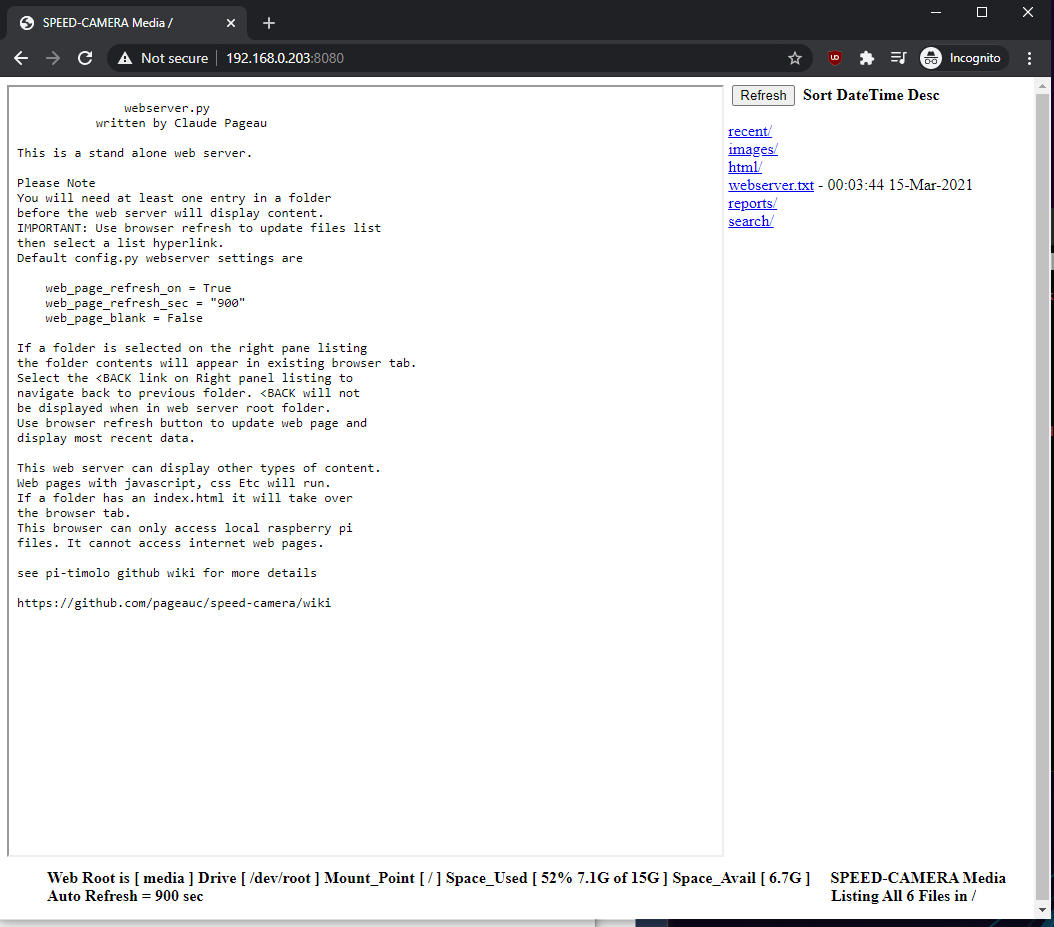
There is a basic web interface (which was enabled above) that allows you to see the images that the software has been capturing. Before heading into that, though, I would suggest generating a couple of reports via menubox.sh , via the HTML and Report menus. The reports will be available on the web interface by going to http://[IP of your Pi]:8080 in your favourite browser.
The reports menu on the right has some neat stats, such as hourly counts - which, having sat next to my window with a notepad for 10 minutes and comparing it to what the camera caught in the same time... is again about right. But I think it's counting some things multiple times
| Date | Hour | Count/Hr Totals |
|---|---|---|
| 15/03/2021 | 8 | 1040 |
| 15/03/2021 | 9 | 878 |
| 15/03/2021 | 10 | 501 |
| 15/03/2021 | 11 | 376 |
| 15/03/2021 | 12 | 397 |
| 15/03/2021 | 13 | 379 |
| 15/03/2021 | 14 | 707 |
| 15/03/2021 | 15 | 654 |
| 15/03/2021 | 16 | 432 |
| 15/03/2021 | 17 | 709 |
| 15/03/2021 | 18 | 144 |
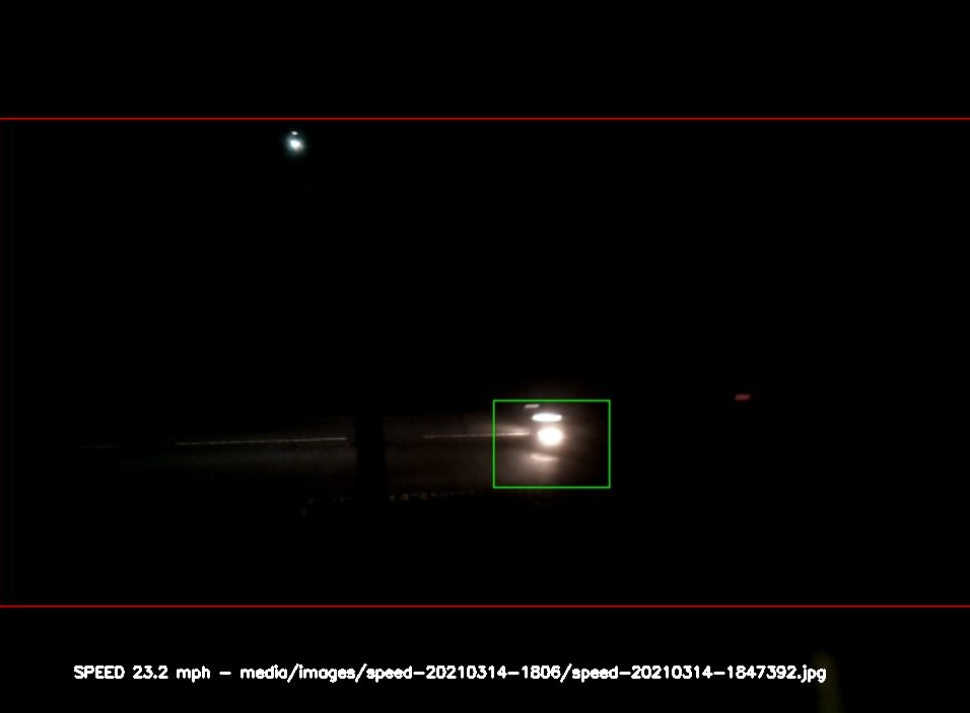
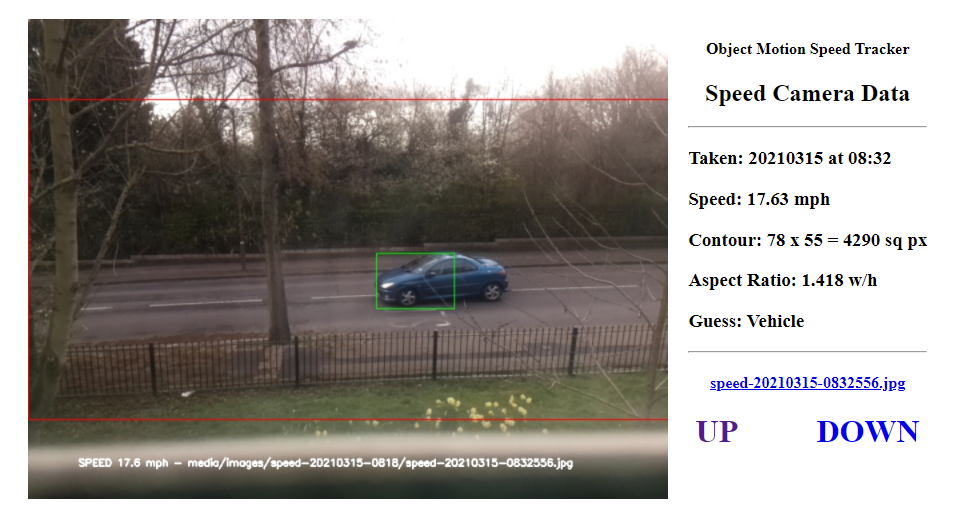
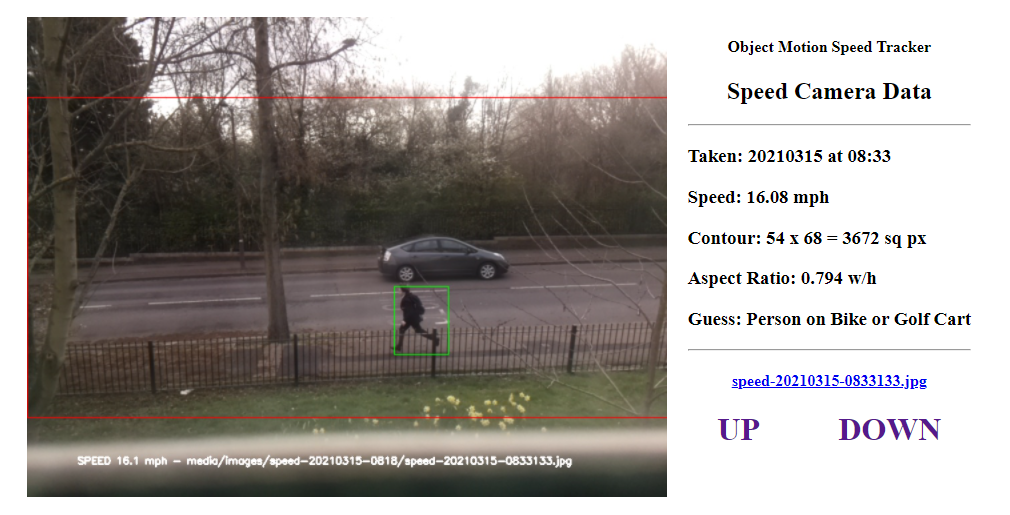
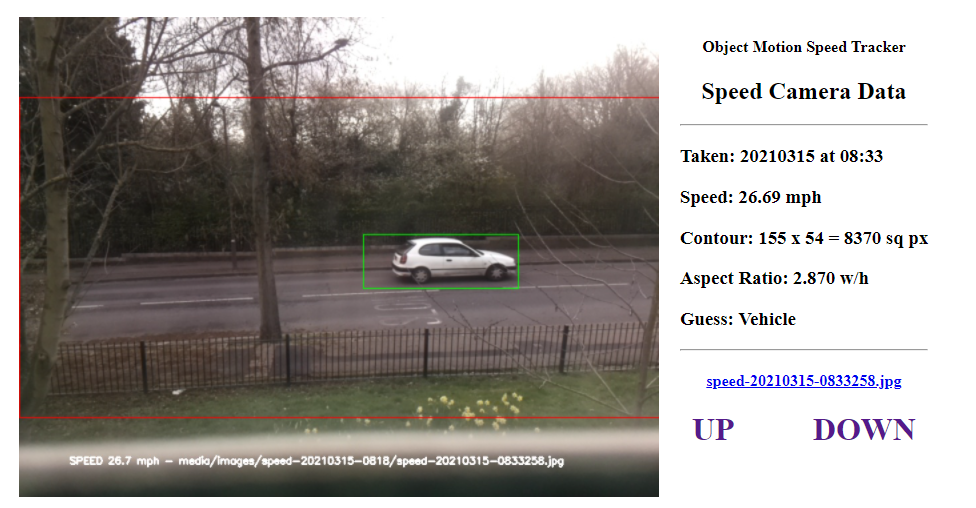
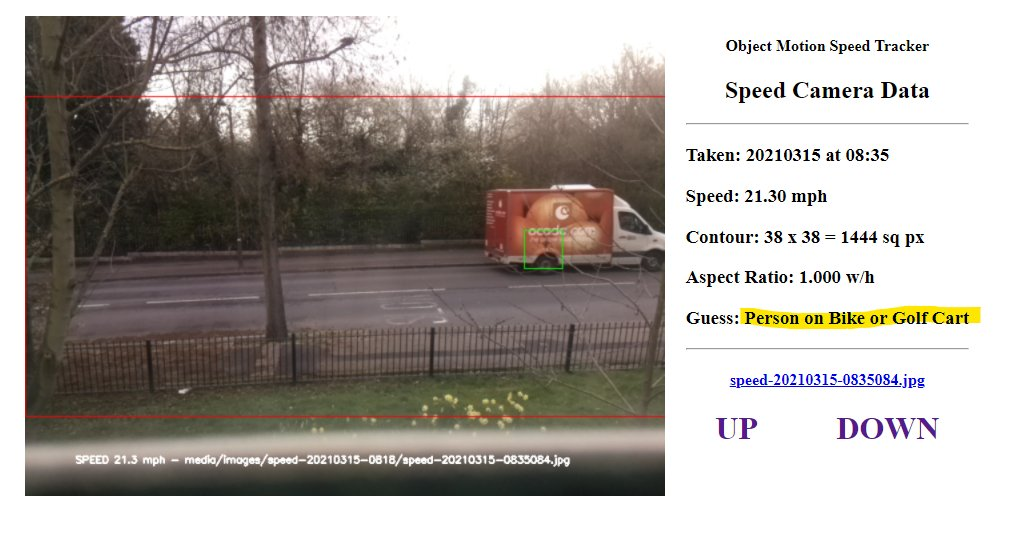
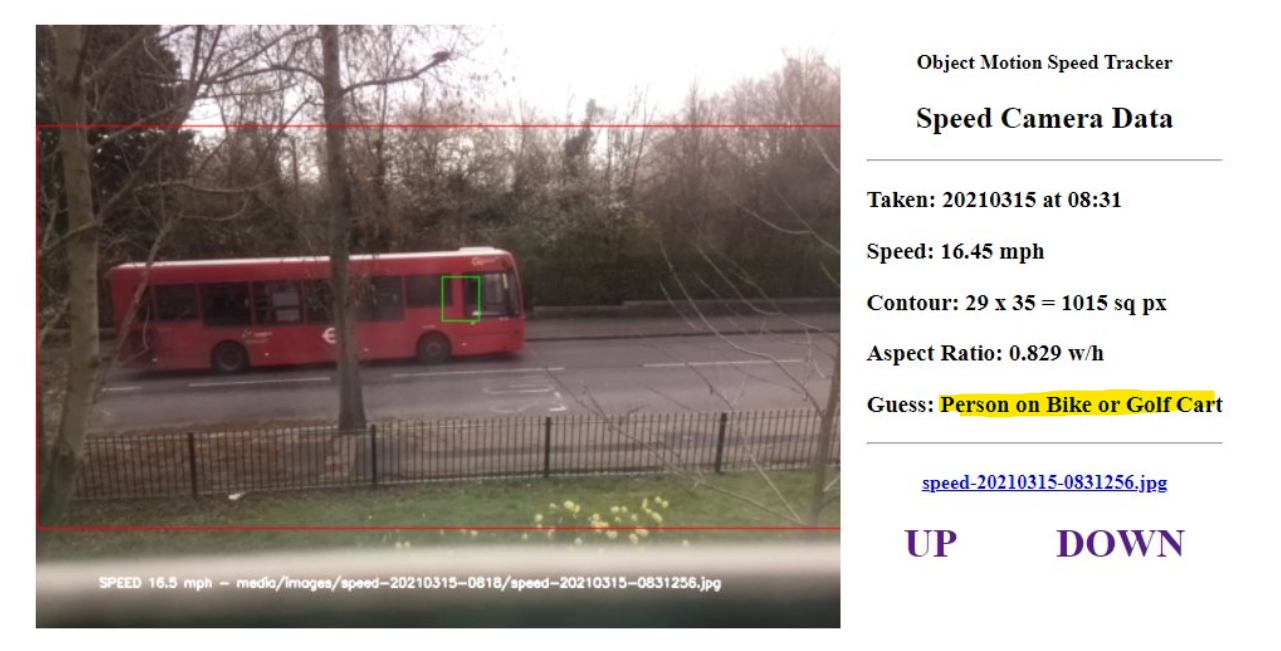
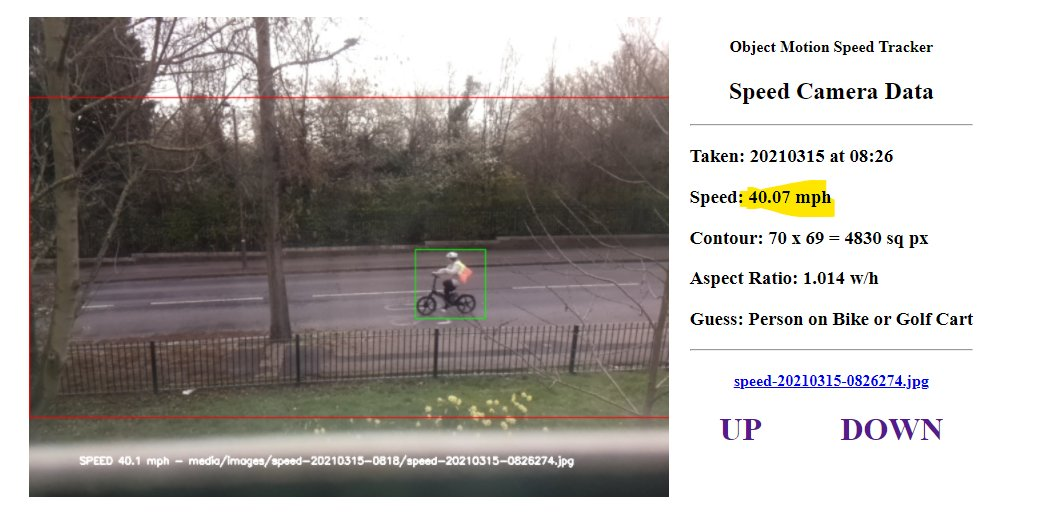
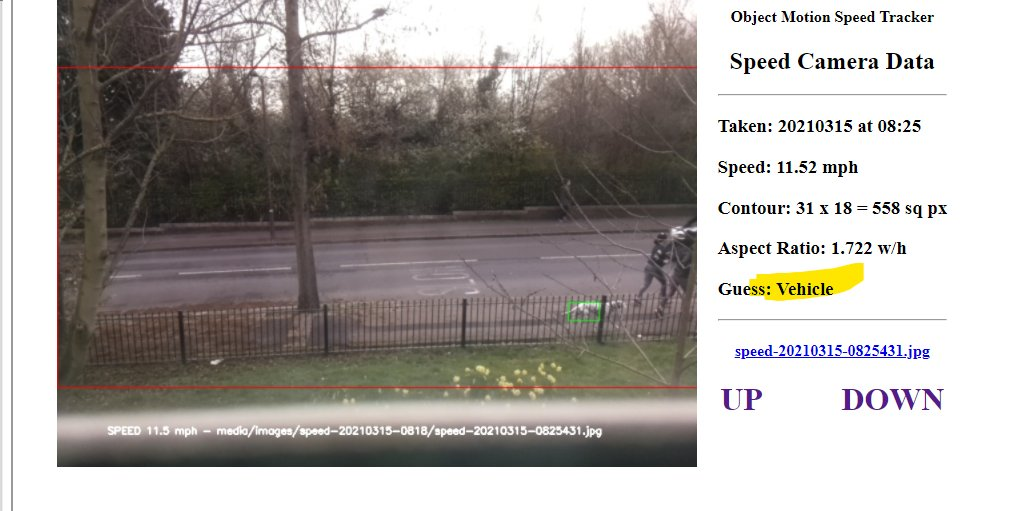
The html menu should have some interesting data points in it - the images it caught, what speed it thought the objects were going, and what kind of object it thought they were... I'll paste some examples below.

Conclusion
Not really sure where to start. It's a nifty bit of software, massive kudos to the creator, @pageauc. It's a great demo of what can be done, but I don't think I would be able to rely on the results it provided.
In the interest of total fairness - I have been quite slapdash in my approach to it. I'm sure if I spent more time tweaking the settings, probably even the camera position I might see some better results. There is a section in the wiki that describes issues that can affect accuracy. To quote the author from that section:
This demo was written as a learning opportunity for me. If you are interested you can review code and try customizing some settings to see if it improves results. Let me know your results.
And that's what it is.
Do I regret having spent my weekend getting it going? No way! It was a fun process and I might even have learned a little bit along the way. I'm impressed by it's simplicity (once I actually tried), but a lot of the internal workings are way over my head. Partly because I don't really know python, and partly because I don't want to learn about image processing just yet... that's what clever people like Claude are for!
I've also since discovered Telraam (which is also open-sourced here), and I'd like to have a look at that, too.